After successful Login and Organiser Profile Creation, you are ready to create your first event! Follow the steps:
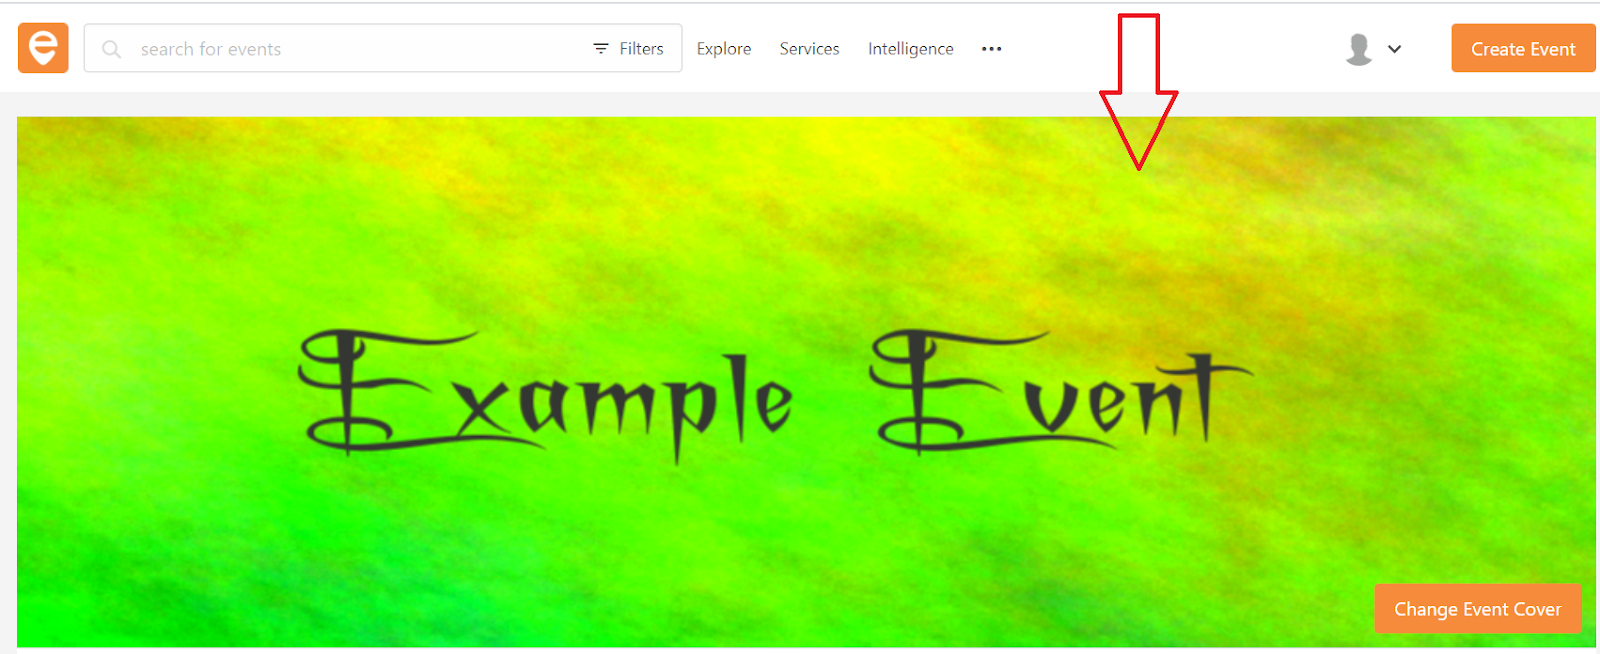
Step 1 - Click on “Create Event” on the top right corner of the page.

Step 2 - Event creation in Eventackle is a three tier process comprising of following steps:
Select Organiser
If you have not created an Organiser profile yet, click “Create a new organiser”
Read more about Organiser Profiles here
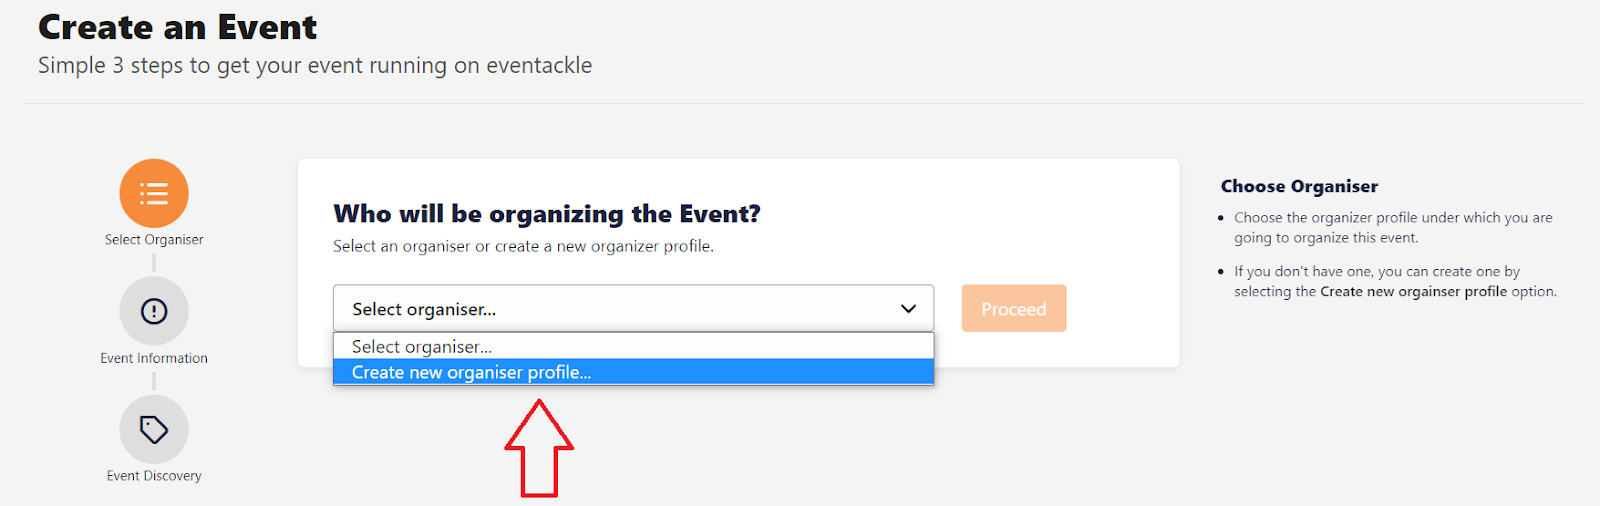
Choose an Organiser from the dropdown and hit Proceed right next to it.
Event Information
This step asks for the following parameters from the user:
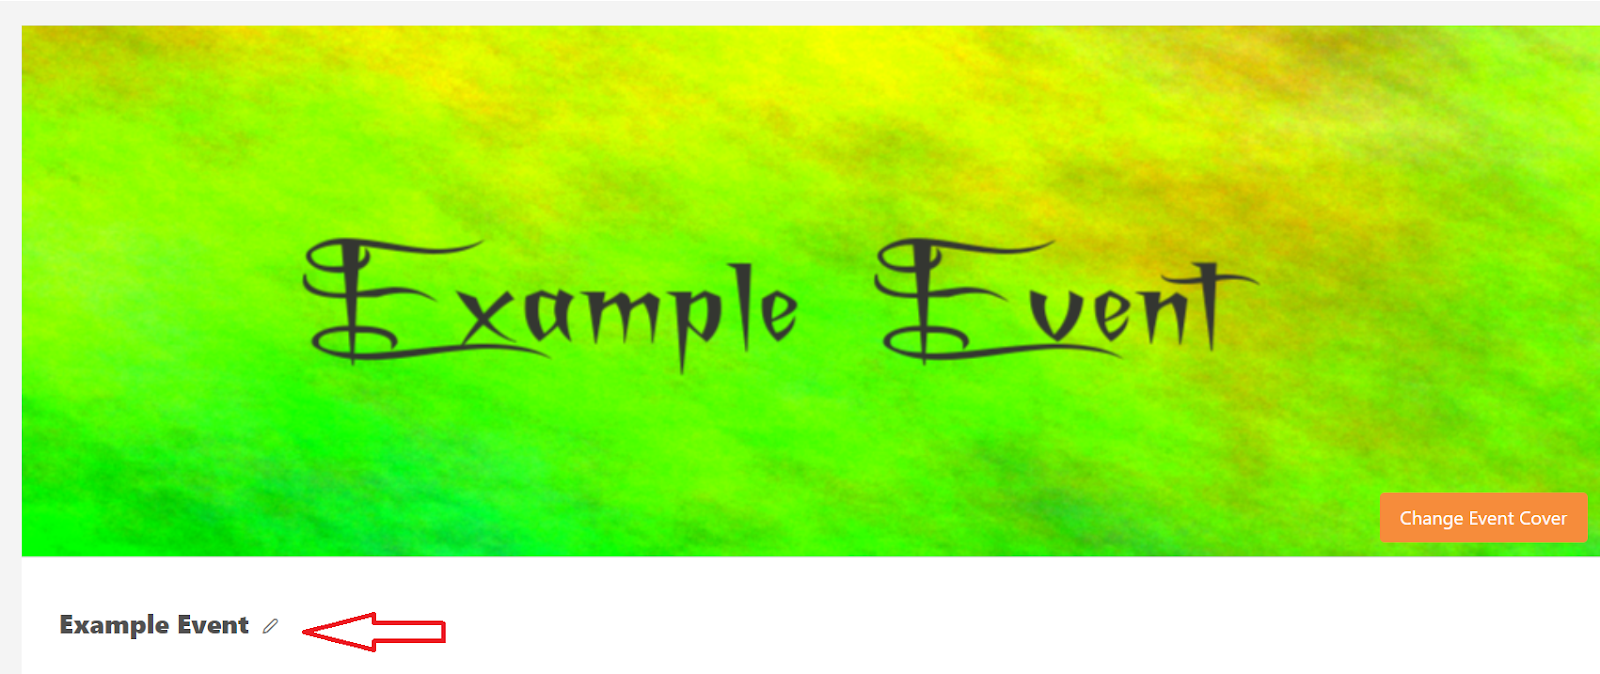
Event Name: It is the Event name that appears on the Event Page.

This is where the event name would appear on your event page
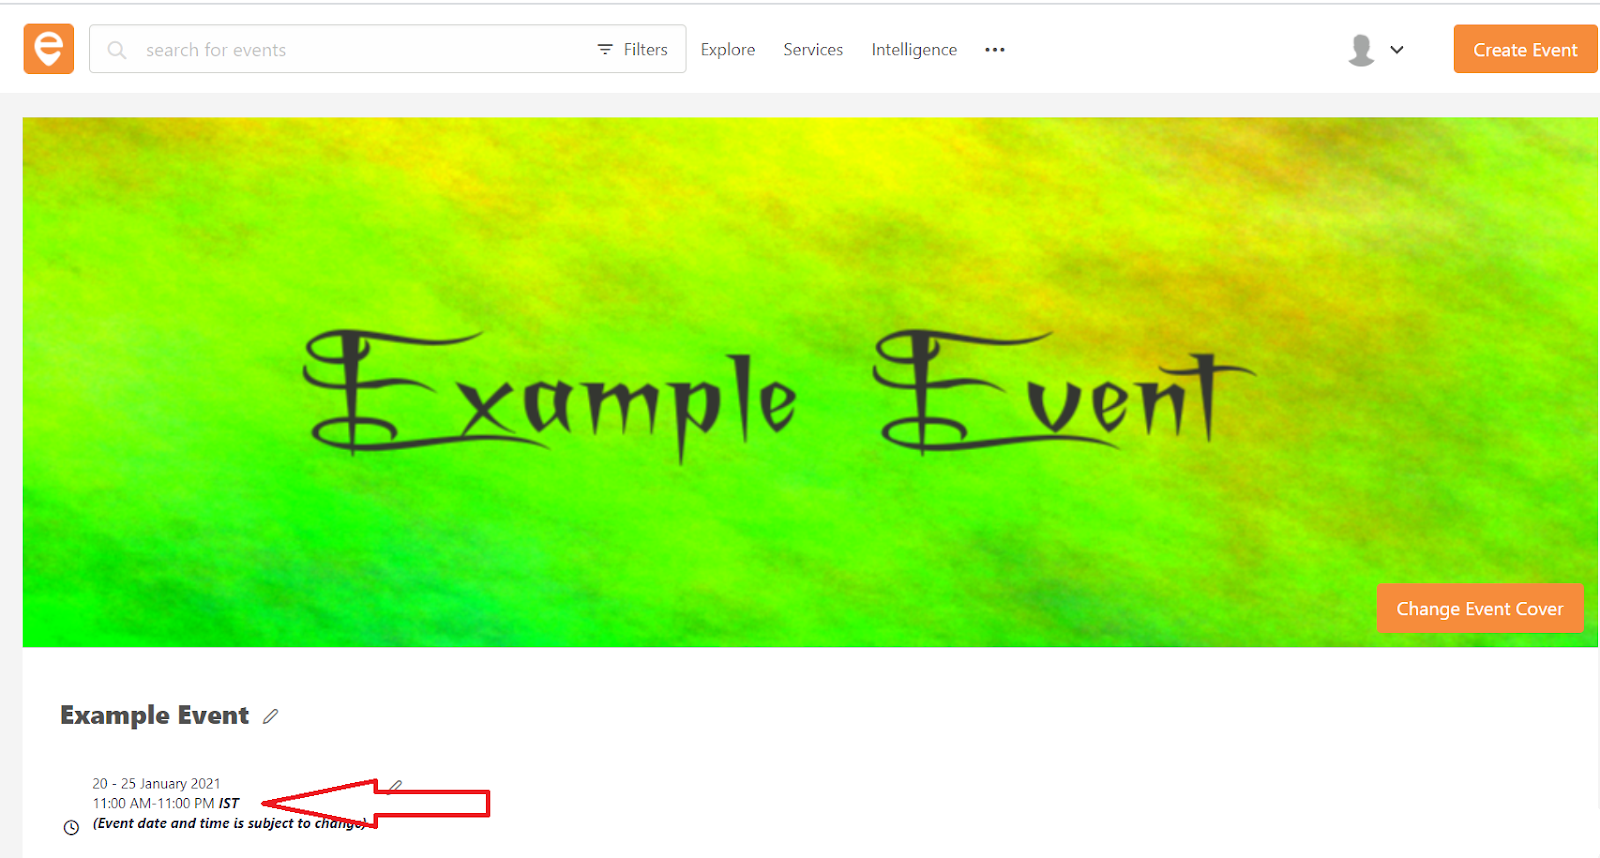
Start Date & Time: This is the Event start date and time. Click on the field and select the desired date and time from the date picker.
End Date & Time: This is the Event end date and time. Click on the field and select the desired date and time from the date picker.

This is where the event date & time would appear on your event page.
Event Cover Image: This is the banner image that would be visible on the event page. Images with 1368 x 684 px work best. To crop your image, select a section of the image and click “Done”. You can make changes later by hovering over the image and clicking the “Edit” icon. You can drag & drop or browse an image from your system of .png & .jpeg formats only.
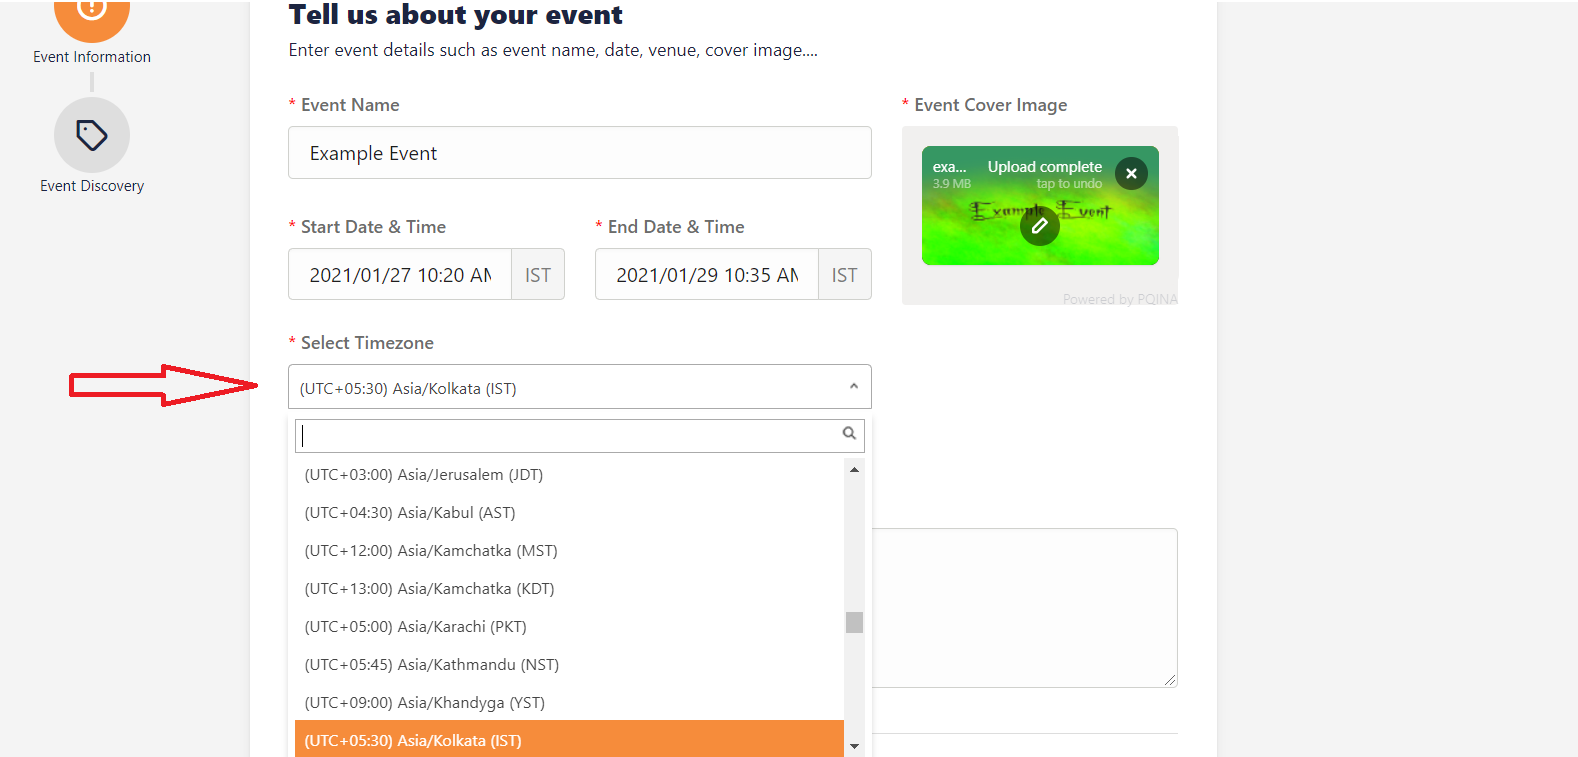
Select Time zone: Set the time zone to match the region that matches your event location.
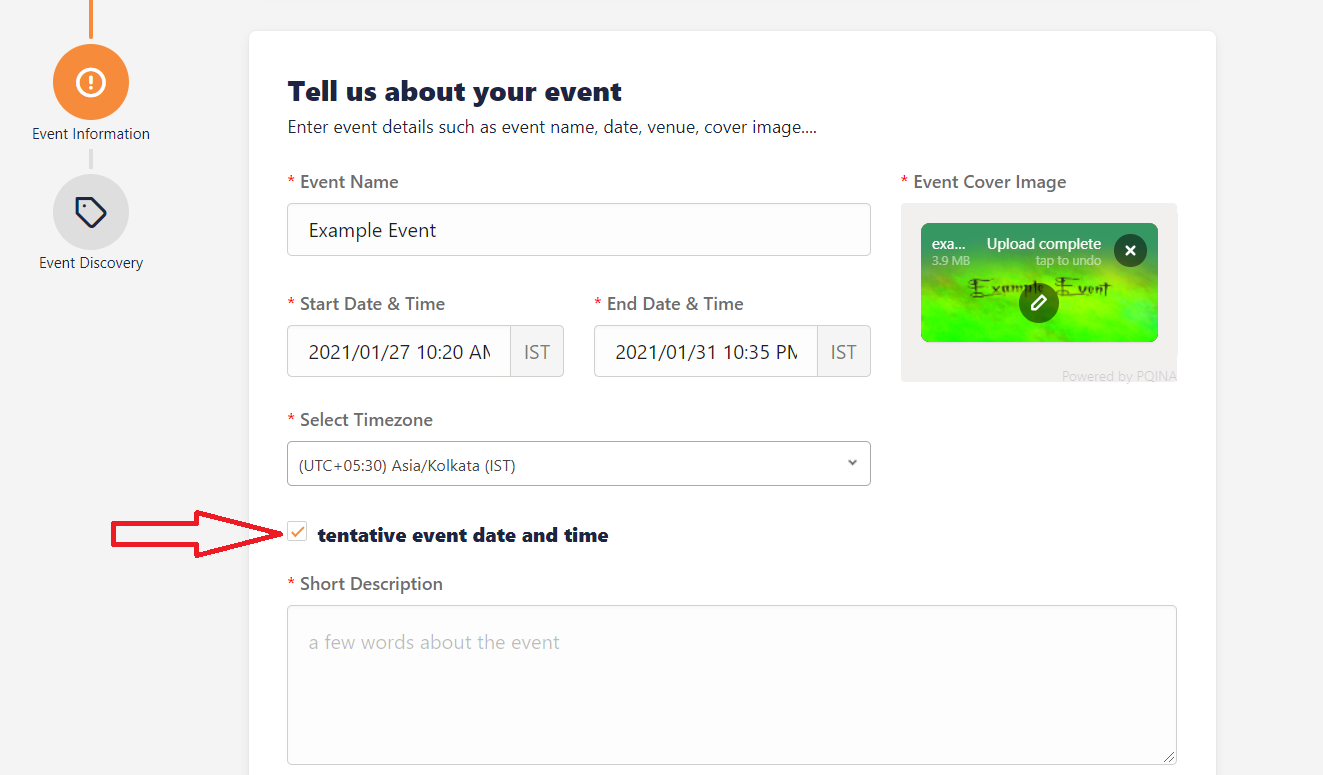
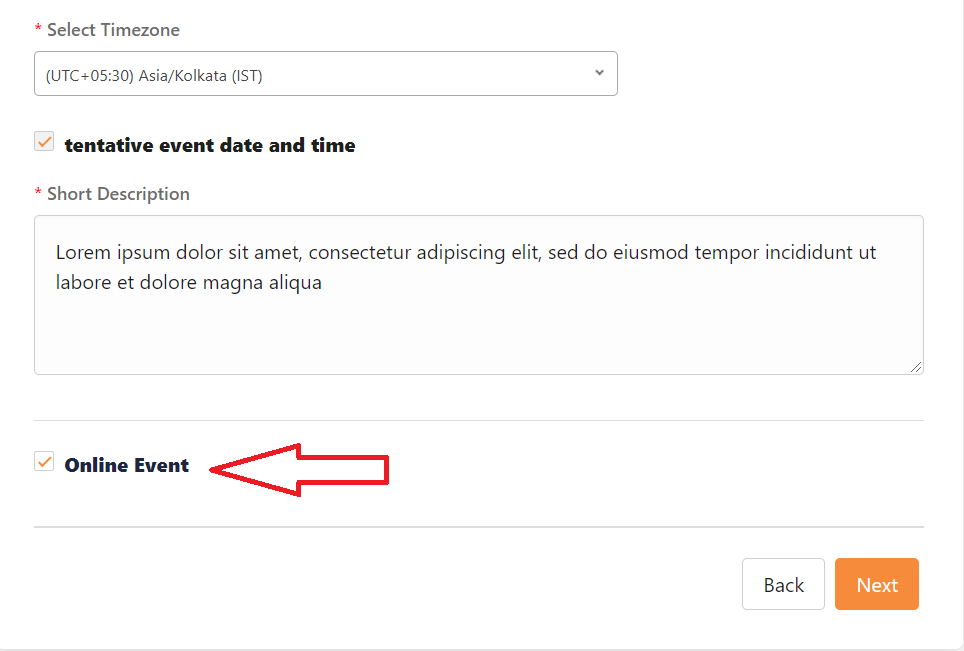
Tentative Event Date & Time: If in case you are not sure about the event date and time, do not forget to check the “Tentative Event Date & Time” checkbox, it is only after this checkbox is checked you’ll be able to change the event date and time later.
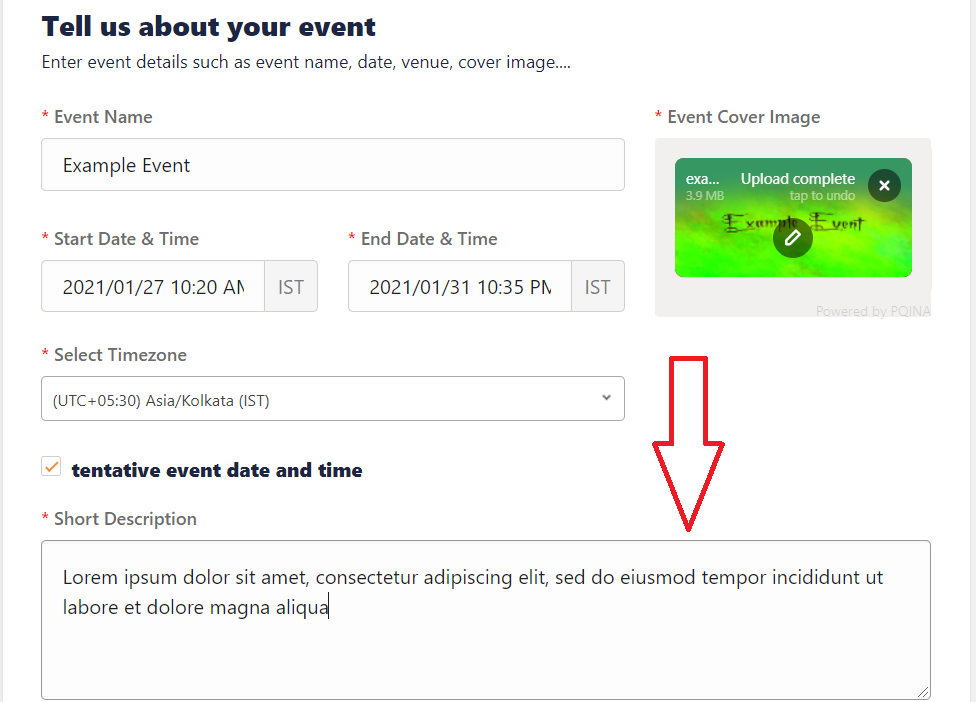
Short Description: Write a blurb not more than 500 characters that describes the most important details of your event. This lets people know why they should attend. This is where short description appears in your event page
Online Event: If the event you are planning is a virtual one, check the “Online Event” checkbox. Once this checkbox is checked, the rest of the fields would disappear automatically and the “Next” button immediately below it would take you to “Step III” of the Create Event Process.
Else if your event is a physical one, leave this checkbox unchecked, and fill in the venue details.
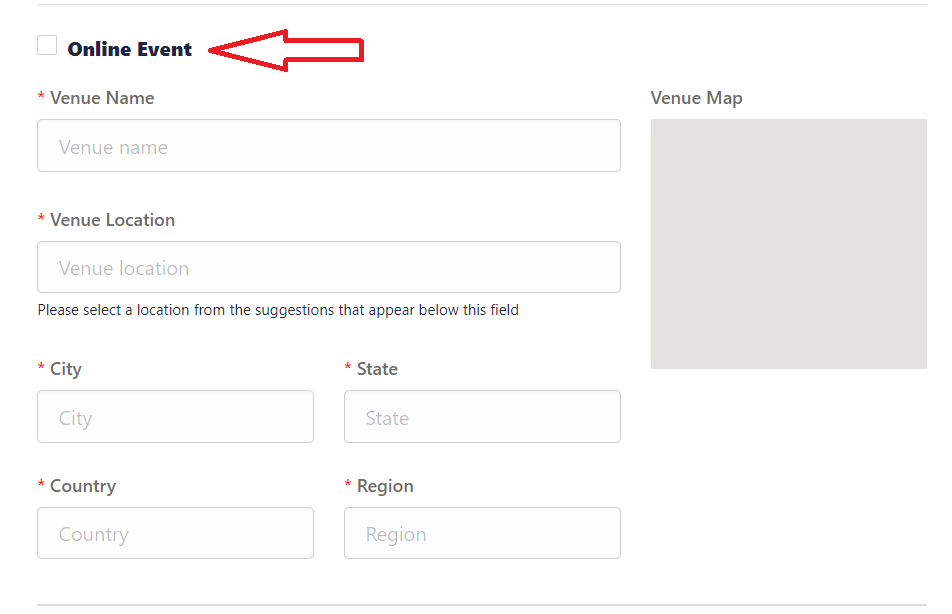
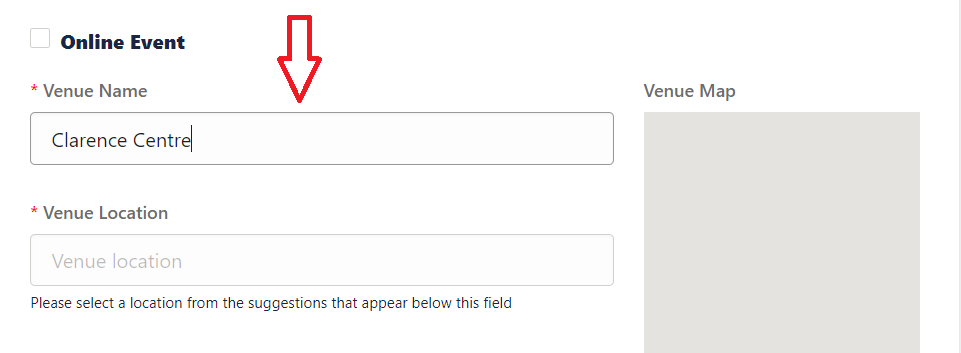
Venue Name: Incase your event is an in-person event, the event venue goes here.
Venue Location: Incase your event is an in-person event, use the search bar below "Venue Location" to search for a venue, address, or city Once the location field is filled, the rest of the fields would be auto filled .
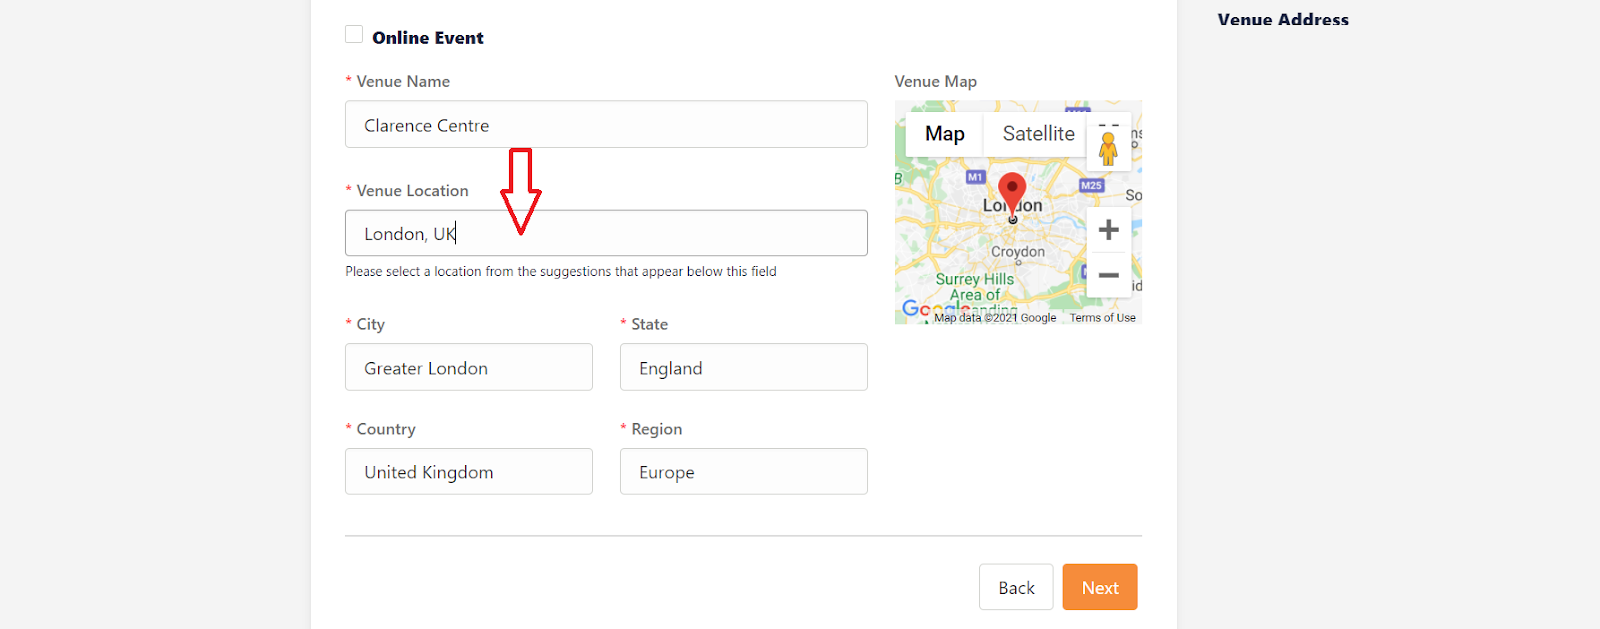
The “Next Button” immediately below the location field takes you to “Step- III” of Create Event Process.
Event Discovery
This step describes how the event would be discoverable to the users.
Categories: Select the category your event falls into from the dropdown of available categories.

Type of Event: Select the desired type of event from the dropdown of available event types.
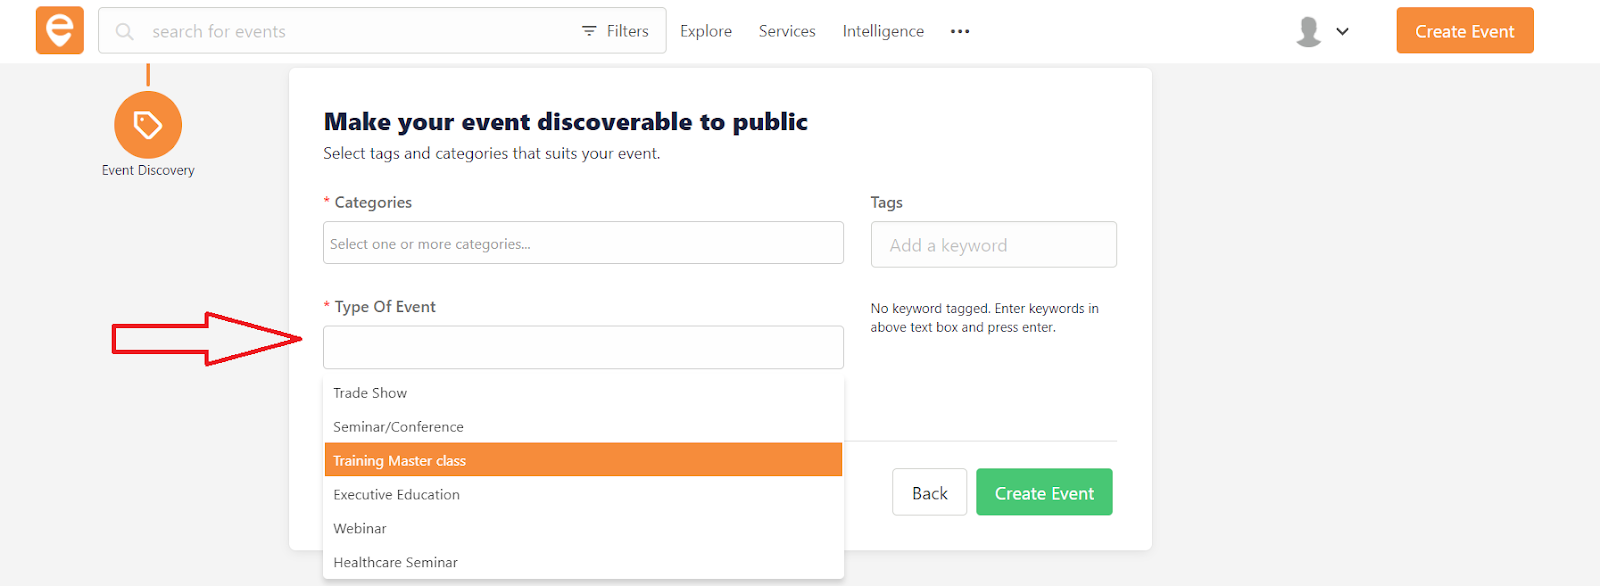
Tags: These are a set of words that’ll make your event discoverable to people while they are looking for something similar to your event. This field is optional and can be skipped.

Step 3 - Hit “Create Event” .
Step4 - To view your event, click “My events” else to edit other details click ”Dashboard”
To manage your event, click here(edit event)